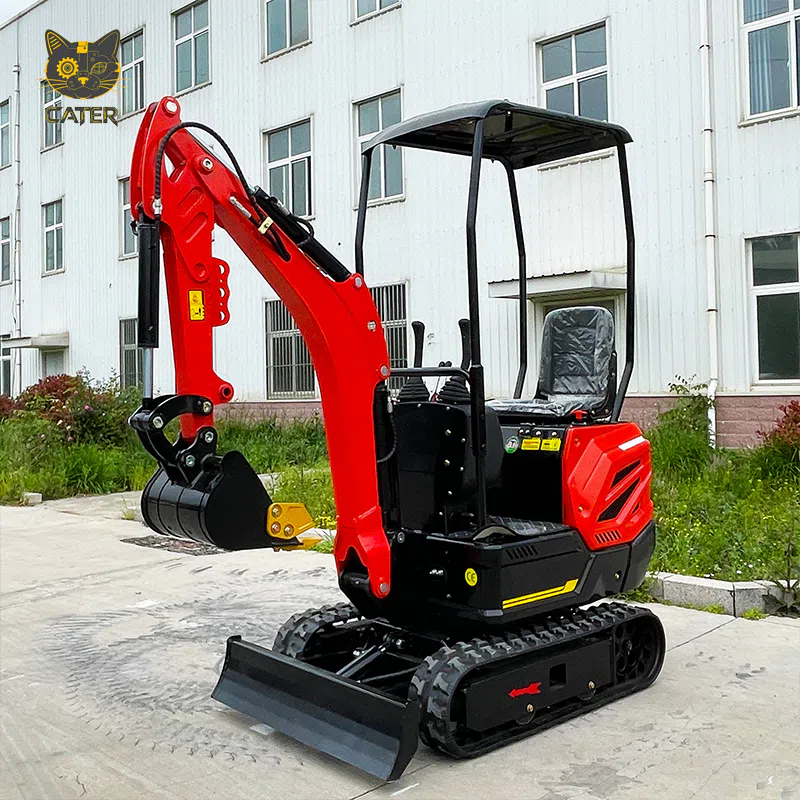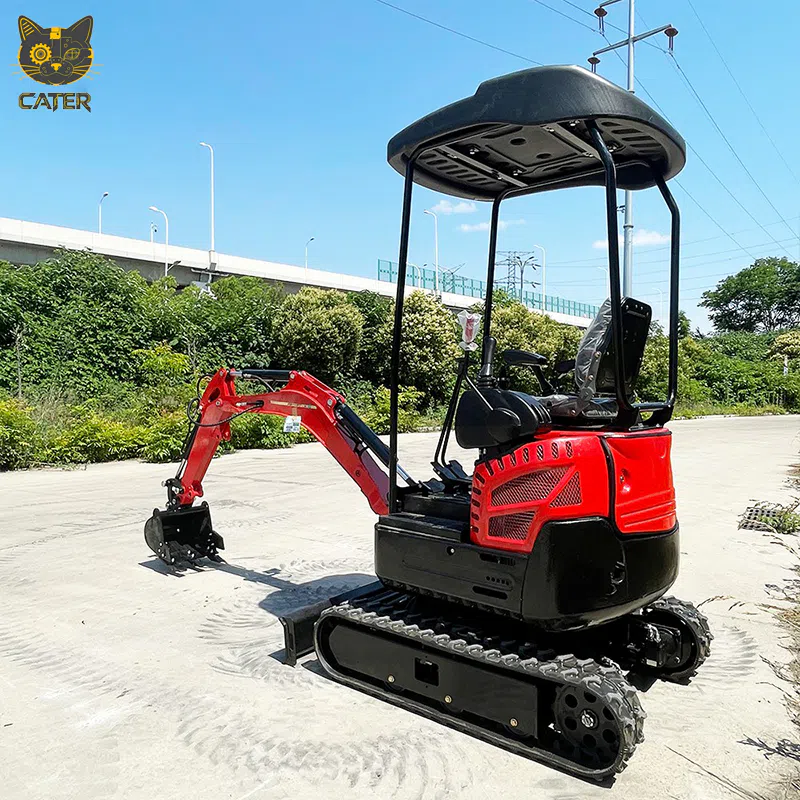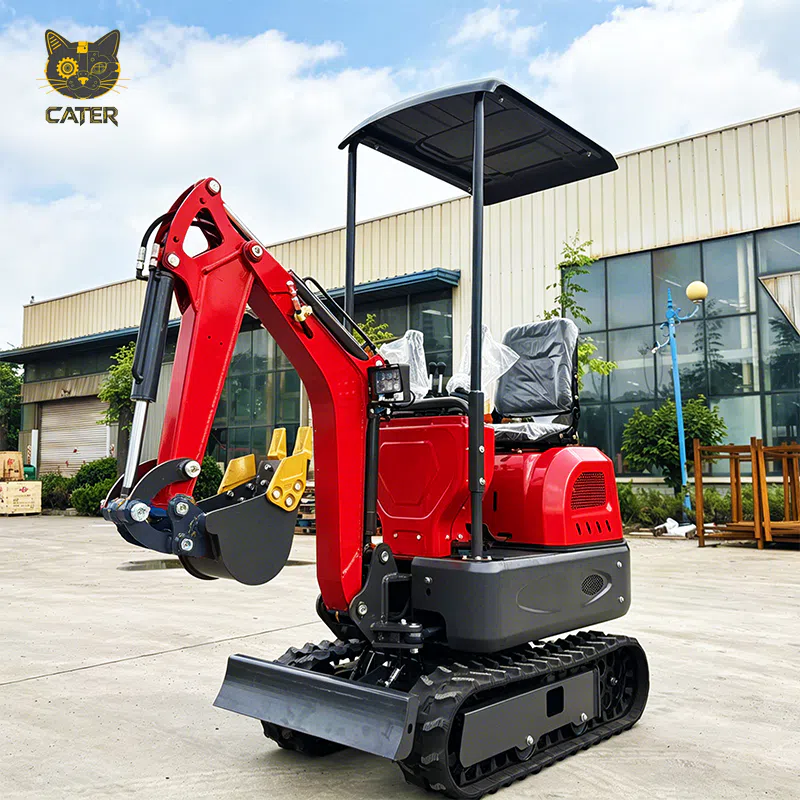

Choosing a landscaping machine before checking the material route can leave a crew with equipment that cannot reach the work. A compact loader that is ideal on one property can be stopped by a garden gate, a low pergola or a saturated lawn path on the next. The discipline that prevents those failures is not another specification table; it is a material route plan.
Before you compare buckets, tracks or attachments, map how material enters the site, where it rests, how it reaches the work face and how spoil leaves. That map tells you which machine class is even viable. On tight residential and commercial landscapes the binding constraint is rarely engine output; it is space — width, turning room, overhead clearance, surface tolerance and the number of times material changes hands. This guide works through that logistics layer, while the wheeled-versus-tracked trade-off is covered separately in our skid steer loader vs compact track loader comparison.
Why the Route Comes Before the Machine
A specification sheet describes a machine, not your site. Two properties with the same lawn area can demand completely different routes: one accepts a delivery truck at the kerb with a straight run to the beds, the other forces every load of topsoil through a side gate and around a corner. If you commit before you know which one you are dealing with, you are gambling.
Route-first planning also protects the finish you were hired to deliver. Ruts in a new lawn, cracked paving and scraped bark happen during logistics, not planting. When the route is set in advance, you can protect the surfaces you cross, or accept hand movement for the final stretch.
Finally, the route determines the attachment set. A machine that can reach the back garden is still the wrong tool if the pile cannot be approached at the right angle. Deciding the route first makes attachment choice a consequence of the site rather than an afterthought.
Zoning the Site: Four Areas and One Lane
A useful planning method is to separate the site into four functional areas plus a connecting lane. Naming them on paper helps reveal conflicts before materials and machinery arrive.
Entry and delivery area.
Where the truck, tipper or trailer can legally and safely stand, how far that is from the gate, and whether a load can be tipped into the lane or must be barrelled from the street. On residential streets this zone is usually fixed by parking and access rules, so treat it as a constraint and design around it.
Staging area.
Where material waits before placement. Keep it close to the entry and sort by type: topsoil, mulch, gravel, sand and green waste. Mixed piles create rework, because someone must separate material later, usually in the least convenient spot.
Work face.
The active planting bed, patio base or turf area under construction. Keep it clear of stockpiles; if it doubles as a staging area, every placement pass competes with storage.
Spoil and waste area.
Excavated subsoil, stripped turf, prunings and packaging. Spoil accumulates faster than people expect on renovation work, and a pile left in the lane effectively closes the route mid-job.
The lane is the fifth element: allow the machine's full operating envelope and keep pedestrian routes separate. Any person directing movement needs a designated safe position outside the machine's path and pinch points, not a space squeezed alongside it.
Manufacturer category guidance reflects the same material logic. Compact utility loaders are commonly positioned for handling dirt, mulch, gravel and debris as well as grading and soil preparation. That is a manufacturer's own framing rather than a productivity guarantee, but it confirms that moving bulk material is the core job — and that the staging zone, not the machine, decides how smoothly it happens.
Sort material at the staging point, not at the work face
Split the staging area into bays assigned to separate materials, with dimensions that allow the planned loading movement and safe access. Label them and keep waste away from materials that will be reused. Choose the number of bays from the materials list and available space rather than a fixed formula. Keeping mulch and gravel separate avoids introducing unwanted material into the finished work.
How to Measure the Space You Actually Have
Measuring is where tight-access projects are won or lost, and it is mostly tape work. Walk the route with a tape and a notebook, not with an assumption.
Gate and doorway clearances.
Record the narrowest width and the lowest height along the entire route, not just at the gate. A generous gate means nothing if a tighter gap appears further along the route between a downpipe and a fence post. Overhanging branches, pergola beams, low eaves and service cables all reduce the usable height.
Path surface and ground condition.
Note whether the lane is paving, gravel, wet turf or bare soil, and record every surface change, because those transitions are where damage and traction problems appear. Soft ground after rain changes what is possible; a route that works in dry conditions may not work when the ground is wet.
Turns and corners.
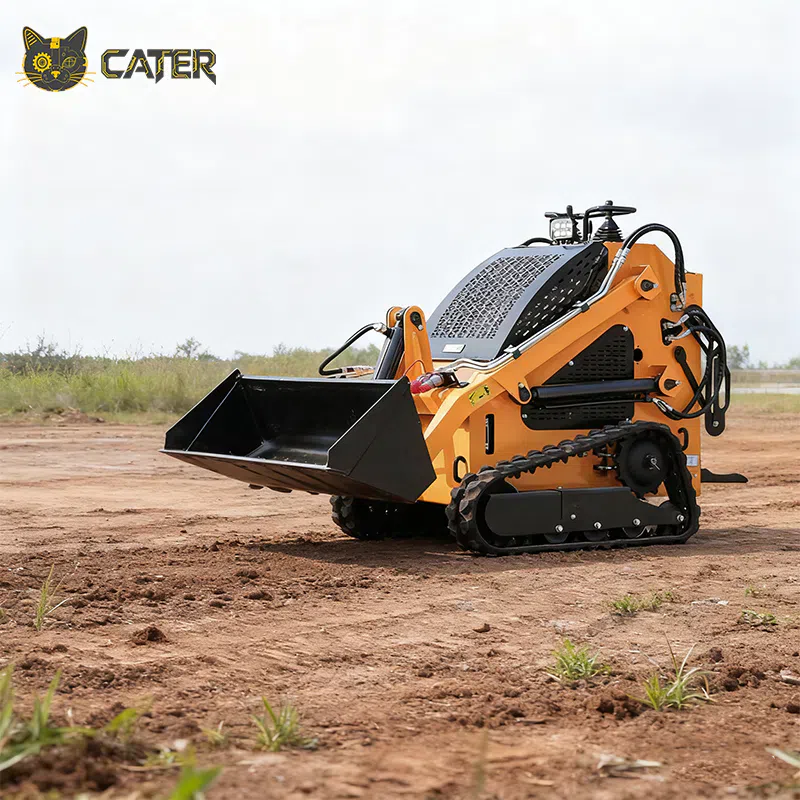
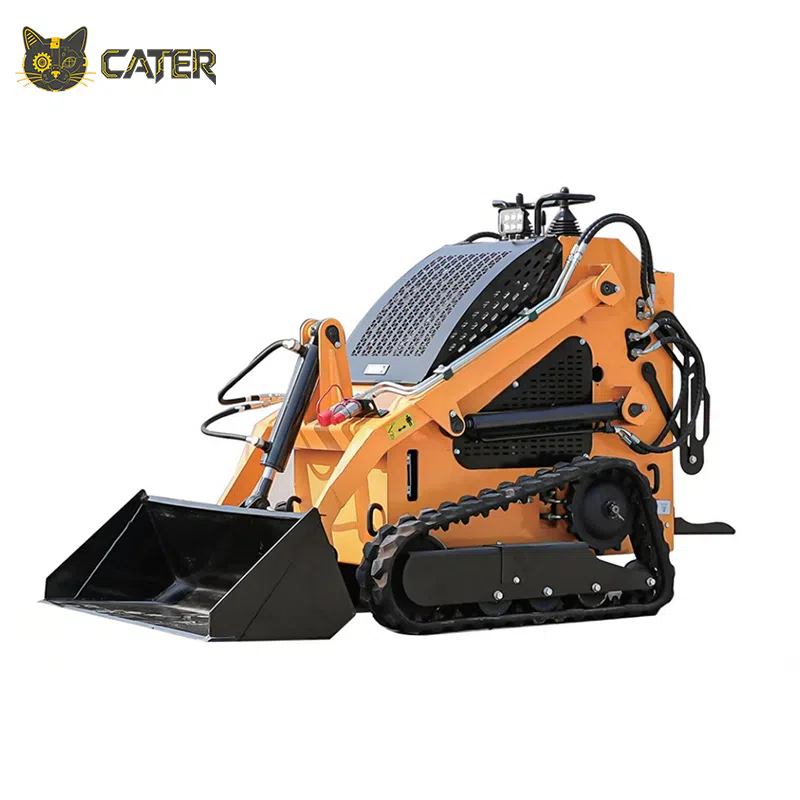
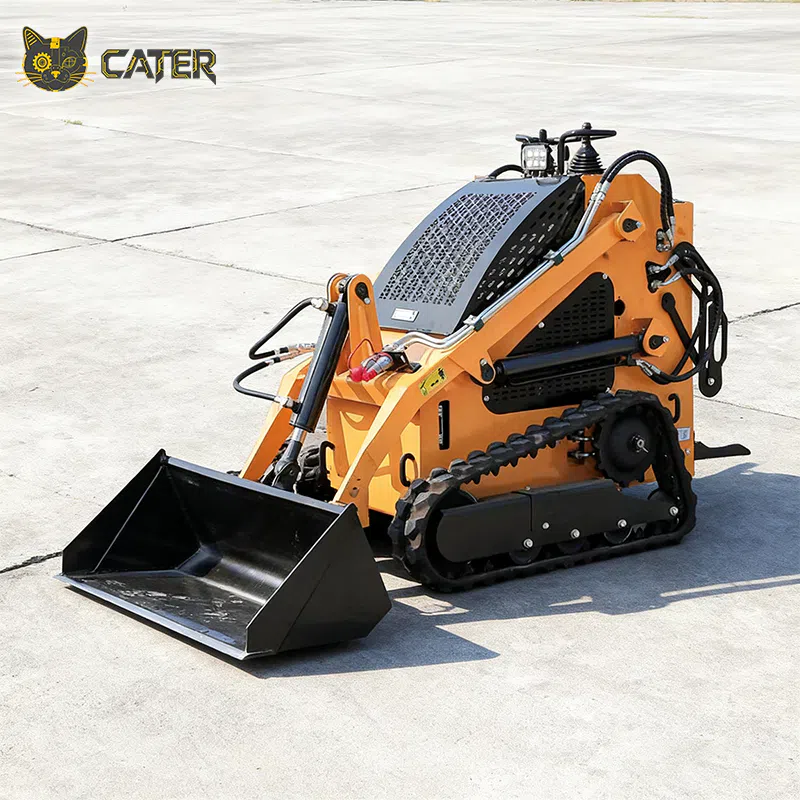
A straight route rarely exists. Measure the outside of each corner and check whether the machine can swing through it while carrying a loaded bucket. For a rear-operated machine, include the operator's designated operating position and required clearances in the plan. Whether the supplied configuration is walk-behind or platform-operated must follow its documentation; the photographs alone do not establish the operating method.
Surface loading and protection.
The product page lists a machine weight of 890 kg. This is a reference for planning, not an assessment that a deck, paving or soft ground can support the machine. Loads, attachments, contact area and surface condition also matter; structural crossings need an appropriate assessment. Machine weight is not rated operating capacity and does not establish what the loader can lift or carry.
One measurement is easy to miss: the point where material stops and hands take over. The distance from the last reachable point to the final placement point decides whether you need wheelbarrows, a conveyor or extra labour, and it is the figure most likely to change your plan.
Handoff Points: Where Material Changes Hands
A handoff is any point where material moves from one carrier to another: truck to loader, loader to wheelbarrow, wheelbarrow to planting bed. Every handoff takes time and can create spillage, so the route plan should minimise their number rather than optimise any single one.
The common mistake is the unnecessary middle handoff, where material is dropped in one pile and moved again to its real staging position; each extra move adds handling and adds another chance of spillage. No fixed number of transfers suits every site, so aim to reduce the unnecessary ones for the route you are actually working and keep the transfers you do need where they can be seen and controlled.
Handoffs are also a communication problem. On a narrow lane the operator often cannot see the bucket and the person at the far end at the same time. Agree a spotter, hand signals and a stop word before the first pass, and brief whoever is directing the machine, including a client's gardener on site that day.
Cycle discipline matters more than cycle speed. Count passes by zone rather than by the clock: if a route needs a known number of loaded passes to fill a bed, that is a fixed cost you can plan around. Published productivity claims rarely survive narrow access, so a plan built on realistic passes is more trustworthy than a theoretical rate.
Match Attachments to the Handoff, Not to the Catalogue
Attachment choice follows from the route and the type of handoff. A bucket suits work where material can be placed straight from the machine; forks suit palletised deliveries; a rake or grading attachment matters when the finished surface is the deliverable. If the last few metres are manual, extra attachments add cost without adding throughput.
For route planning this has a concrete consequence. If your plan depends on a high-flow attachment, you have narrowed your machine options, possibly to a larger or wider unit that no longer fits the gate. Deciding the route first stops that contradiction surfacing halfway through the job.
Trial the Route Before You Commit
Where a site is unfamiliar or access is genuinely marginal, a short trial is a practical way to de-risk the decision. Manufacturers position compact utility loaders alongside rental and attachment programmes for exactly this reason: a machine can be matched to a task before it is committed to a property. A day of rental spent testing a route beats a purchase that cannot reach the beds.
Use the trial to answer logistics questions, not performance questions: does the machine pass the gate with the attachment fitted, turn at the awkward corner, survive the surface it crosses, and allow the handoff point to be worked safely? Those answers rarely appear in a brochure.
A Simple Pre-Start Sequence
1. Walk and measure the route. Record the narrowest width, the lowest height and every surface change.
2. Zone the site. Mark entry, staging, work face and spoil areas, then protect the connecting lane.
3. List the material moves. For each material, note where it enters, where it is staged and how it reaches its final position.
4. Count the handoffs. Reduce the unnecessary ones for your site, and keep the remaining transfer points where they can be seen and controlled.
5. Then choose the machine and attachments, and confirm the configuration for the exact unit you will use rather than the model family in general.
That order turns equipment selection into the last decision instead of the first.
FAQ
Can a compact loader get through a normal garden gate?
It depends entirely on the measured clearance, not the machine class. Record the narrowest point on the whole route, including height, before assuming anything. If the entry is marginal, a trial run is more informative than an assumption.
Should I choose a wheeled or tracked machine for tight access?
That is a separate trade-off involving surface damage, traction and turning behaviour, and it deserves its own comparison. Plan the route first: once you know the real space, the wheeled-versus-tracked question narrows on its own.
How much material moves in one pass?
Bucket volume and material density matter, but they are only part of the answer. The practical figure also depends on the machine's confirmed rated operating capacity, its stability limits while carrying a load, and the attachment fitted. Because those are specific to the unit and its configuration, treat any pass figure as provisional until they are confirmed, and work out the pass count by zone for your own site.
Is it worth renting before buying?
For unfamiliar or genuinely tight sites, yes. A short rental used to validate access, turning and handoff can surface a mismatch before you commit to a machine that cannot reach the work.
Talk Through Your Next Tight-Access Job
Send us the site details — route width, overhead clearance and the materials you are moving — and our team will help match the route to a suitable machine. See the CATER mini loader product reference, or email info@caterequipment.com.cn.